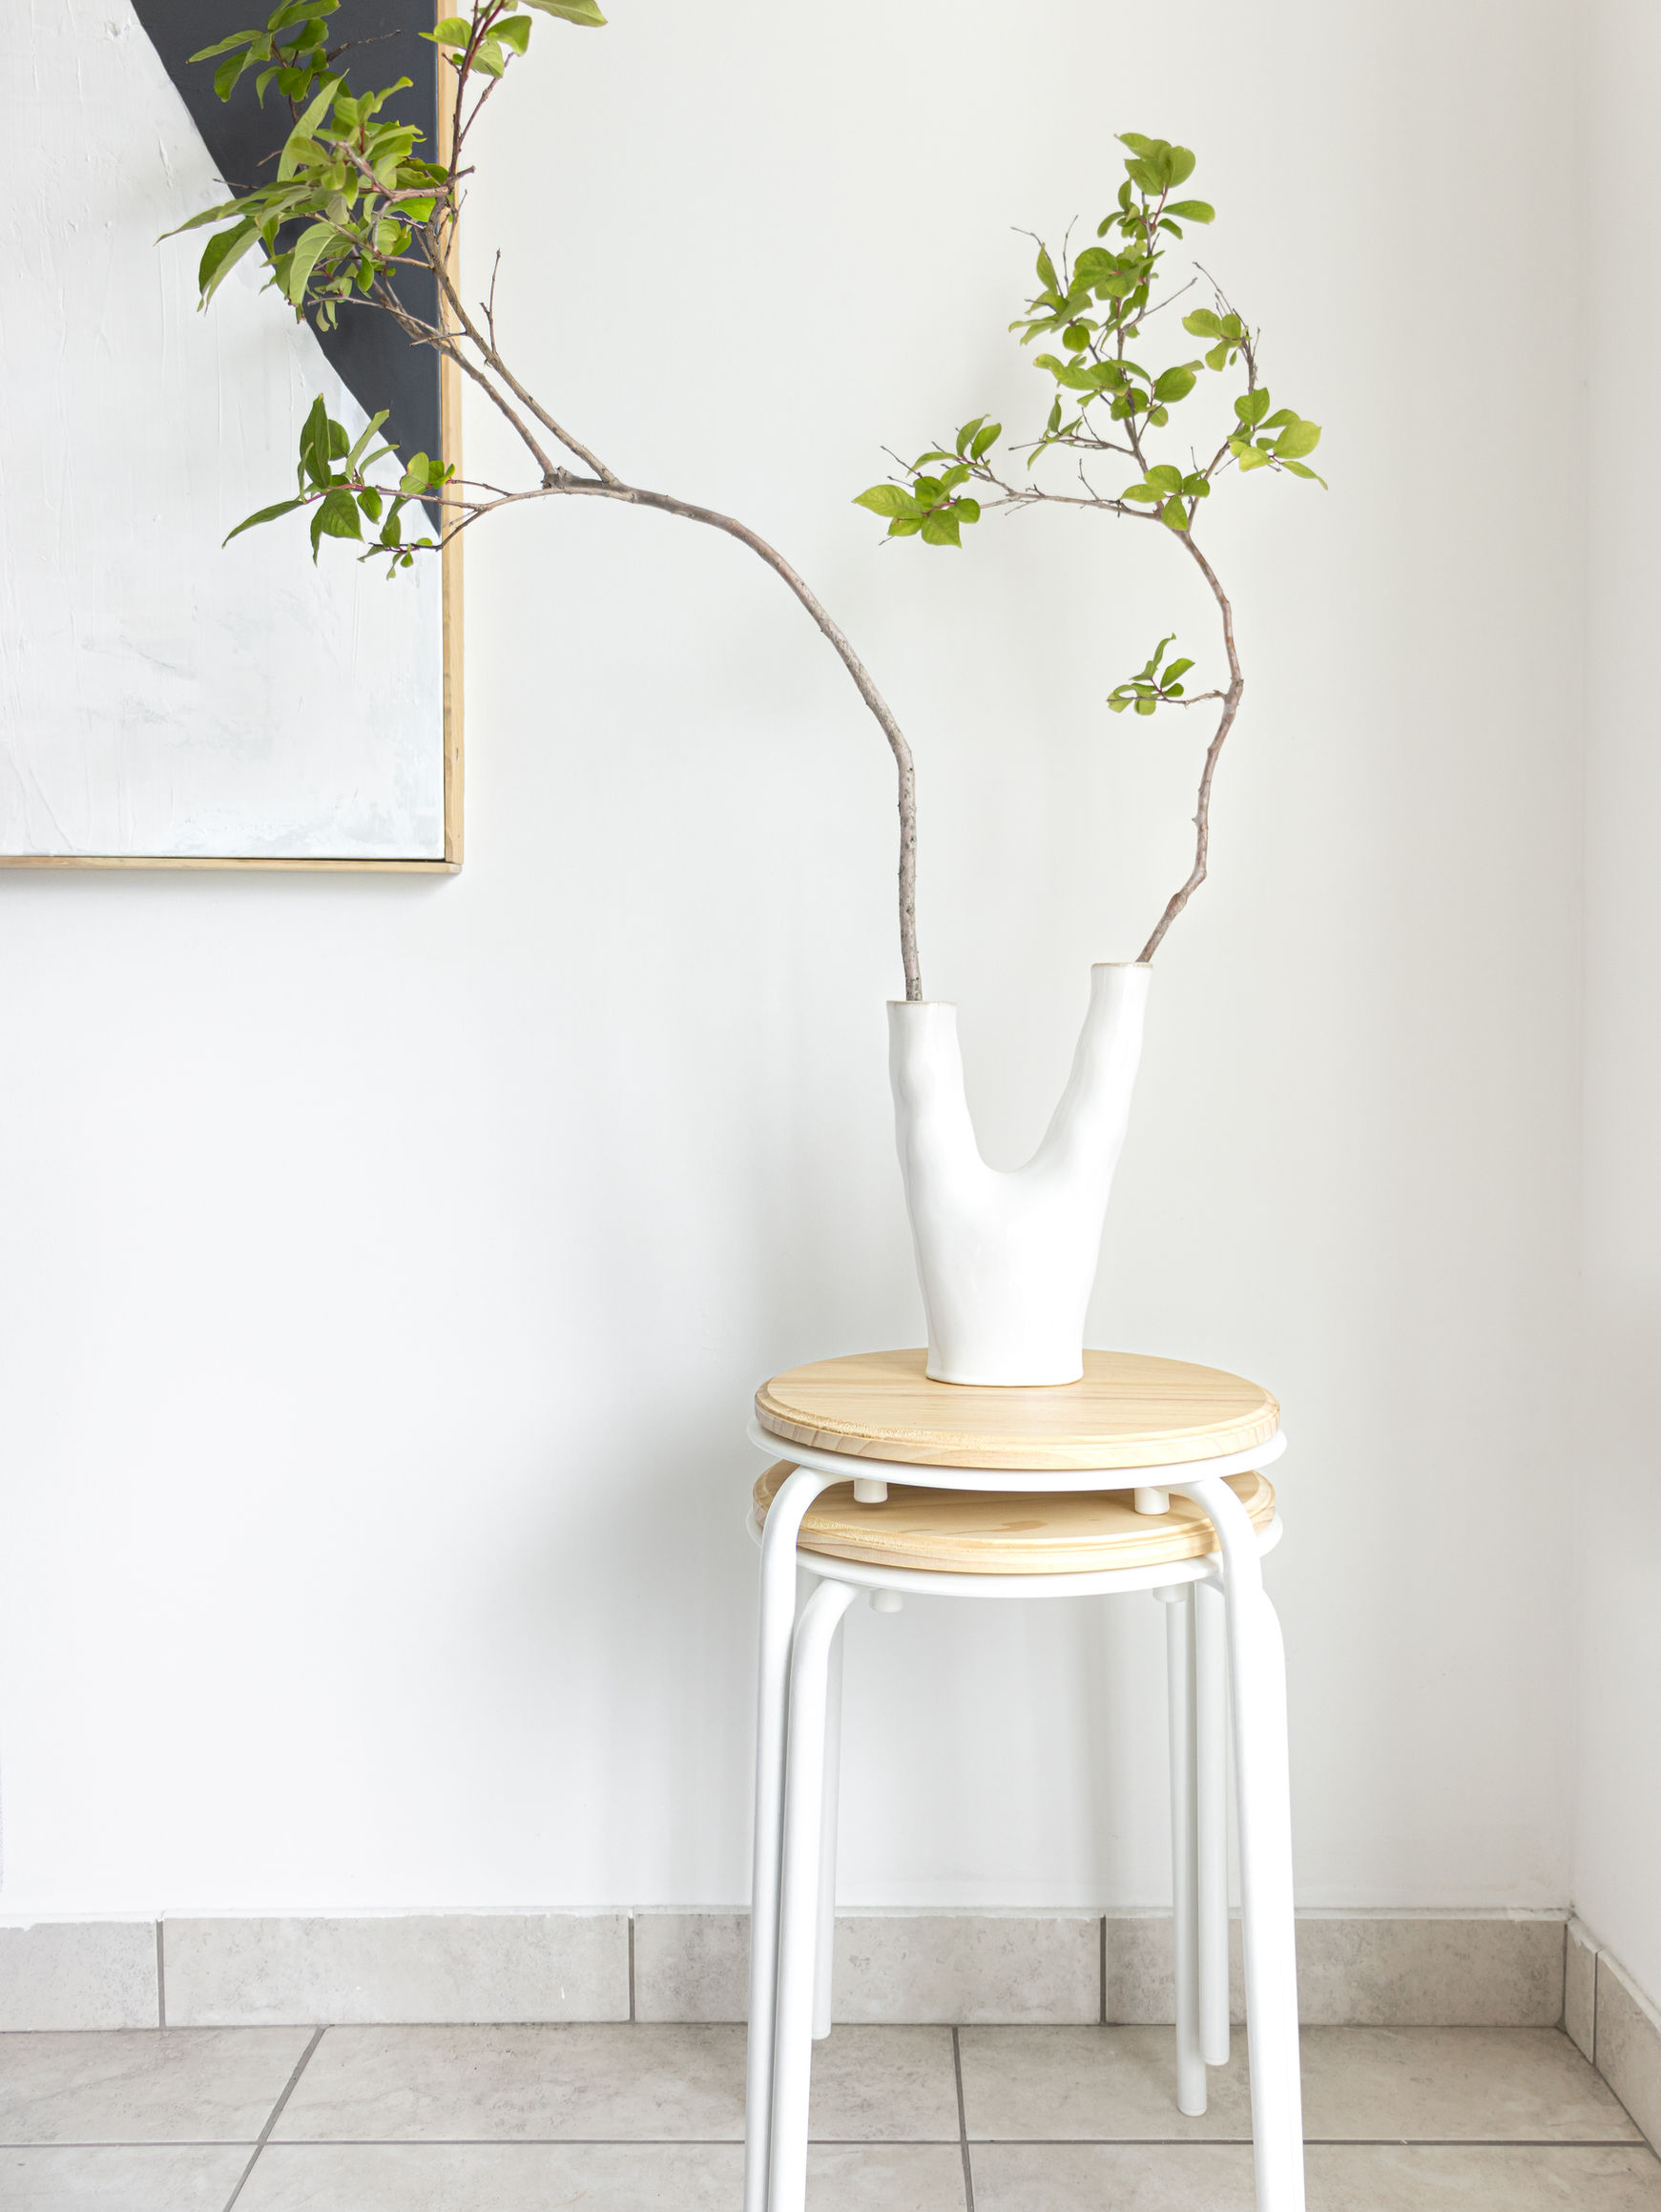
DIY: IKEA Marius Stool Hack
Transform an IKEA Marius stool with this approachable DIY tutorial covering the materials, preparation and finish for a functional custom piece.
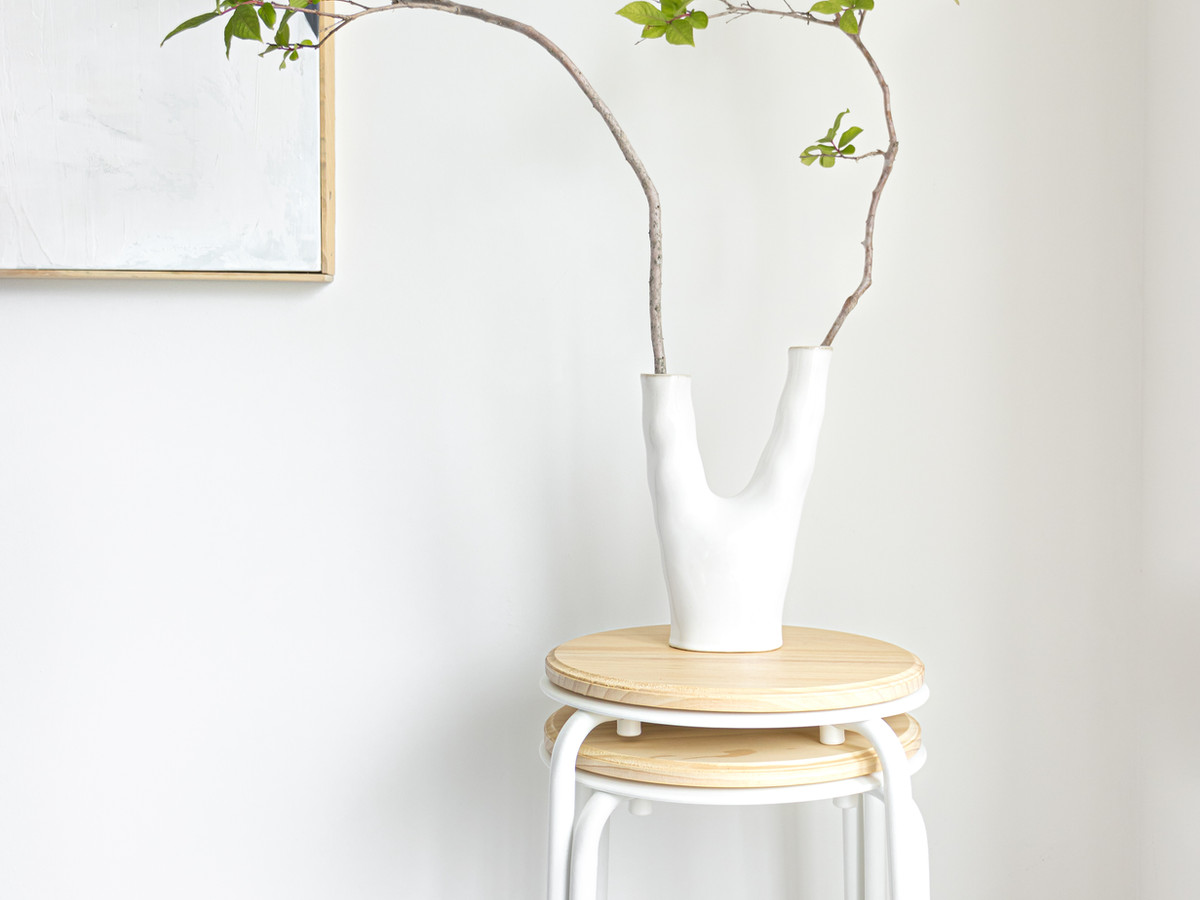
Do you have the famous Marius stool from Ikea at home and would you like to give it a different look quickly and easily? Well, you are in the right place! In this post I show you how we transform our Marius stools in just a few minutes with simple steps.

Due to the deterioration of our dining room chairs, of which only one remains in good condition, Thomas decided to temporarily acquire these stools with the idea of giving them a different look to complement the aesthetics of our decoration, while we wait to be able to replace them with the new chairs.
HAS CLICK TO GO TO THE STORE


1- 1 Round wooden disc 12″
2- 1 Marius stool from ikea
3- 4 washers
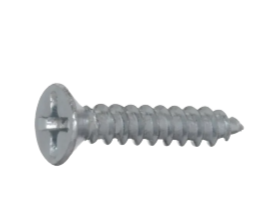
4- 4 screws
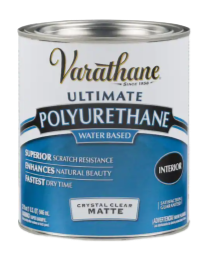
5- matte wood protector
The total cost for 5 stools was $75. Here you can also see the entire process from Instagram.
Assemble the stools following the instructions on the packaging.

Drill four holes with the drill on the hidden side of the stool top to avoid accidentally drilling into the metal leg support.

Remove any residue that is on the wood. This wooden disc was originally designed to be hung on the wall, but having the same circumference as the stopper, it works very well. Just be sure to remove any staples or other items.

Seal the wood with a wood protector. The one we used has a matte finish and is water-based. I really like this product, because it leaves a more natural appearance.

Finally, insert the screws with the washers into the holes to secure the wood to the stool. Doing it this way will allow you to remove or replace the wood whenever you want.


HAS CLICK TO ENLARGE THE IMAGES